Auto-Generate SEO-Optimized Blog Posts with ChatGPT & Pixabay
Build complete, image-rich WordPress posts in seconds—fully editable in Elementor. Wave goodbye to writer’s block and manual image sourcing.
Key Features

AI-Powered Content
Generate structured blog posts from one line of text using OpenRouter & GPT models.

Automated Images
Auto-fetch relevant Pixabay images or upload your own for perfect visuals.

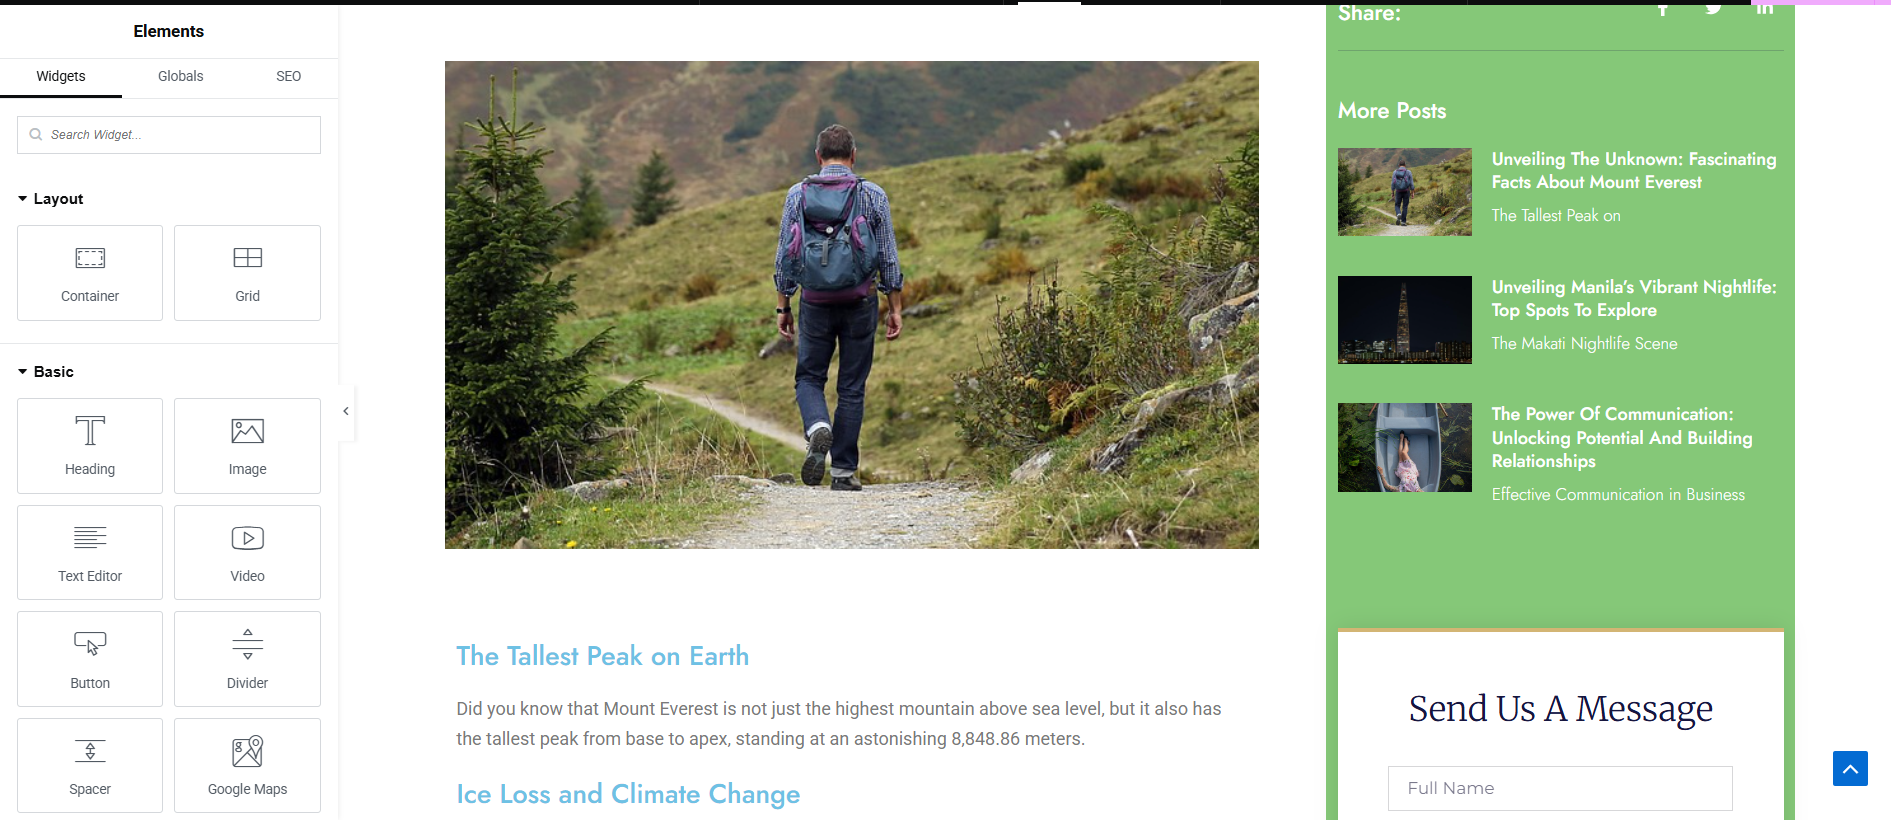
Elementor Integration
Posts are built in Elementor containers—drag, drop, edit on the fly.

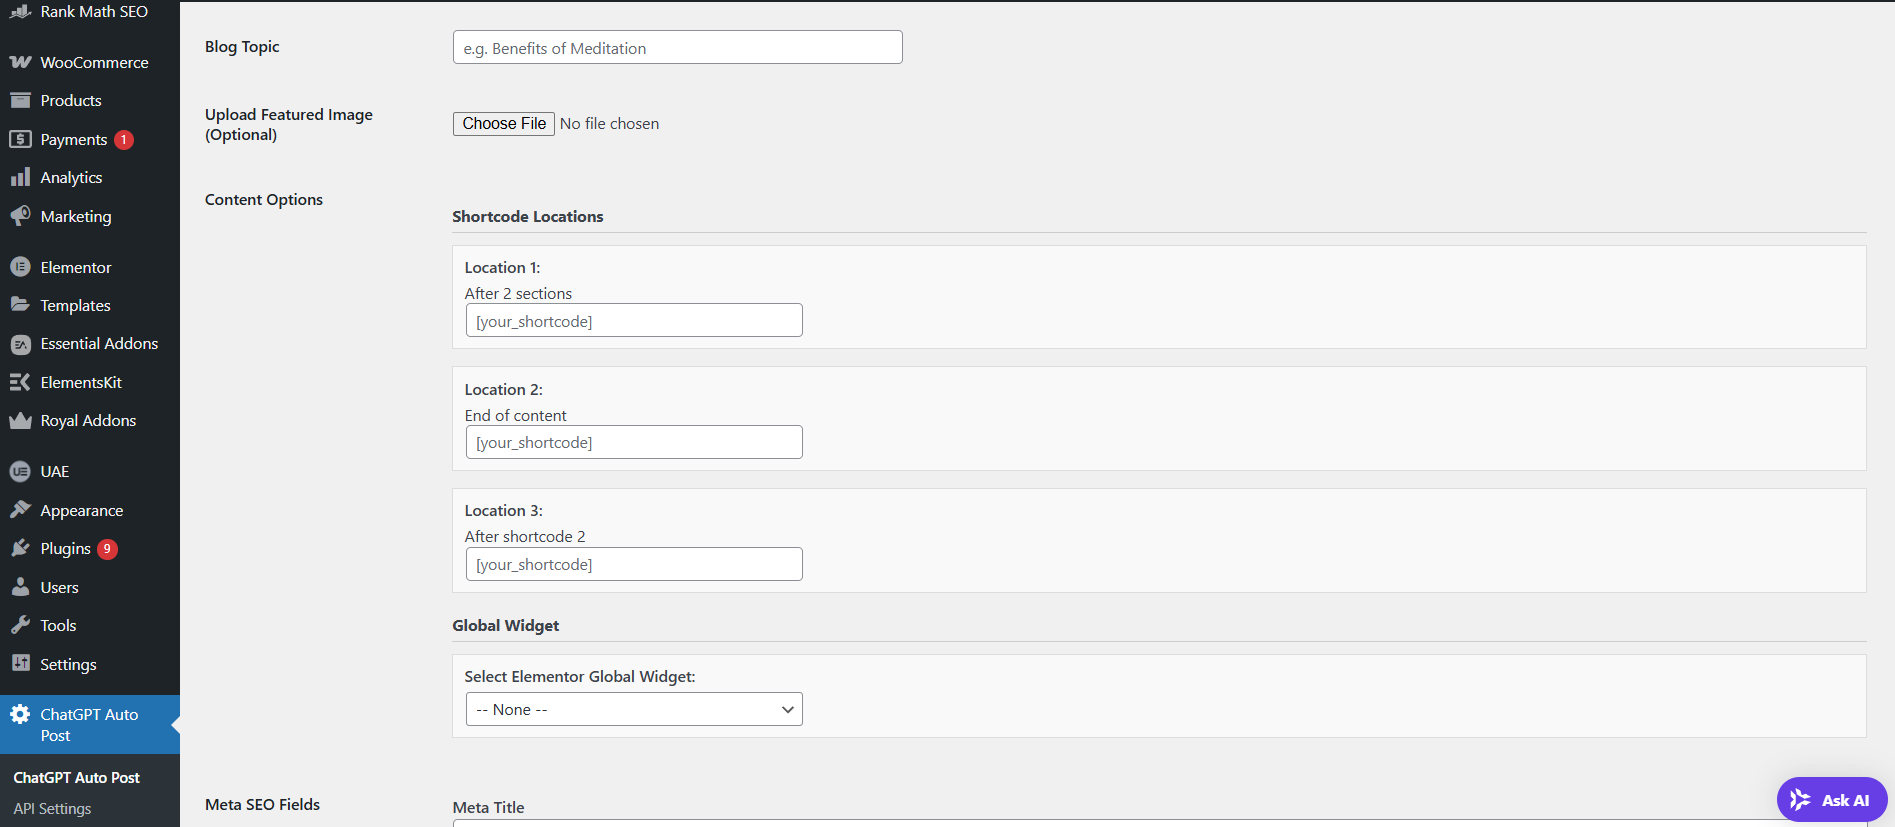
Custom Shortcodes
Embed shortcodes exactly where you want CTAs or widgets.

SEO Meta Fields
Add meta titles, descriptions, and tags for RankMath, Yoast, or custom SEO.

Instant Draft & Publish
Save as draft or publish automatically—then edit in Elementor.
How It Works

Install & Activate
Add the plugin and enter your API keys.

Enter Topic & Options
Type your blog topic, choose shortcodes, and set SEO fields.

Generate & Review
The plugin fetches AI content and Pixabay images.

Edit in Elementor
Your new post opens in the Elementor editor for final touches.
Screenshots
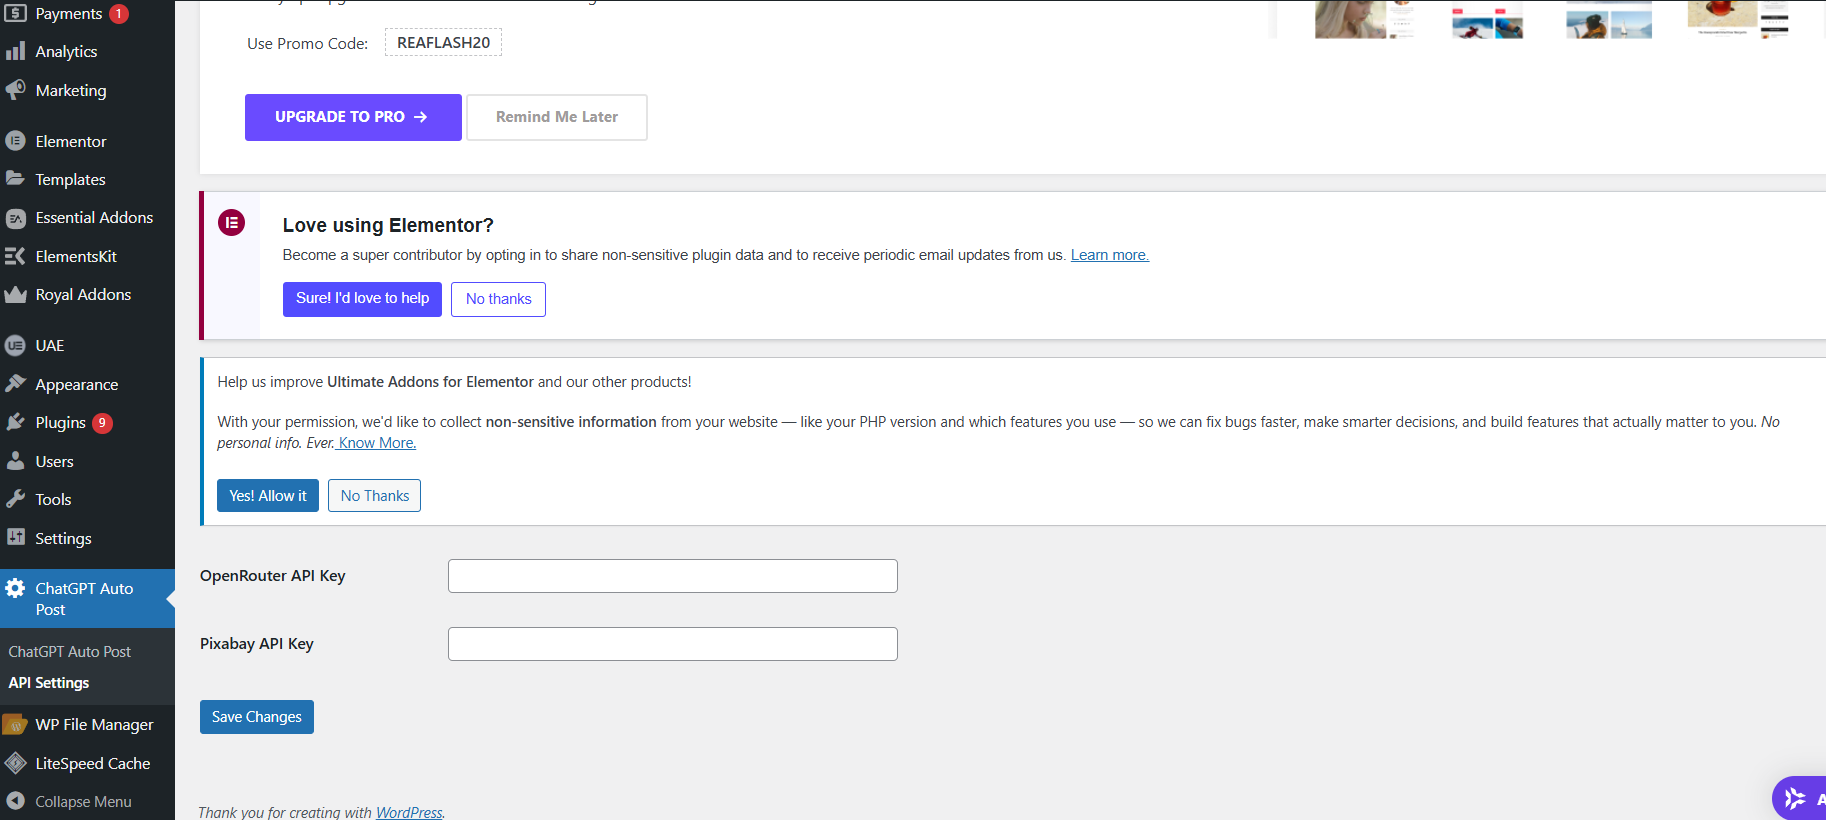

OpenRouter and Pixabay API Keys
To use the ContentPilot AI plugin effectively, you'll need API keys from both OpenRouter and Pixabay. Here's a step-by-step guide on how to get them:
Getting Your OpenRouter API Key
- Visit OpenRouter: Go to the official OpenRouter website:
https://openrouter.ai/ - Sign Up or Log In: If you don’t have an account, sign up for one. Otherwise, log in with your existing credentials.
- Navigate to API Keys: Once logged in, look for a section related to “API Keys” or “Keys” in your dashboard or account settings. A common direct link is
https://openrouter.ai/settings/keys. - Create a New Key: Click on the “Create New Key” or “Create Key” button.
- Name Your Key (Optional): You might be prompted to give your API key a descriptive name. You may also have the option to set a credit limit for the key.
- Generate and Copy: Generate the key and immediately copy it. For security reasons, OpenRouter usually shows the key only once at the time of creation. Make sure to save it in a secure place.
Get & Activate Your ContentPilot AI PRO License
Unlocking ContentPilot AI PRO's advanced features and unlimited content generation is quick and easy.
1. Get Your License Key
- Purchase PRO: If you haven’t yet, secure your ContentPilot AI PRO license by visiting our official purchase page: https://contentpilotai.app/product/contentpilot-ai-pro-version/
- Find Your Key: Once your purchase is complete, your unique license key will be sent directly to the email address you used. Please check your inbox (and spam/junk folder) or log in to your account dashboard on our site to find it
2. Activate in WordPress
- Install PRO: Ensure the ContentPilot AI PRO plugin is properly installed and activated on your WordPress website.
- Enter Key: Navigate to ContentPilot AI > Pro License within your WordPress dashboard. Paste your unique license key into the designated field.
- Activate: Click the “Activate License” button to finalize the process.
That's it! Your ContentPilot AI PRO version is now fully active, ready to supercharge your content creation workflow.
Our Flexible Plans
Contact & Support
Designed & Built by MundoInteractive LLC